The Global Settings page can be used to set default behavior that will apply to all forms. Some of these global settings can be overridden in an individual field's options or on the form settings page. Below is a brief description of each option found on the Global Settings page.
Upgrade your WordPress site with powerful, flexible forms.
General Settings
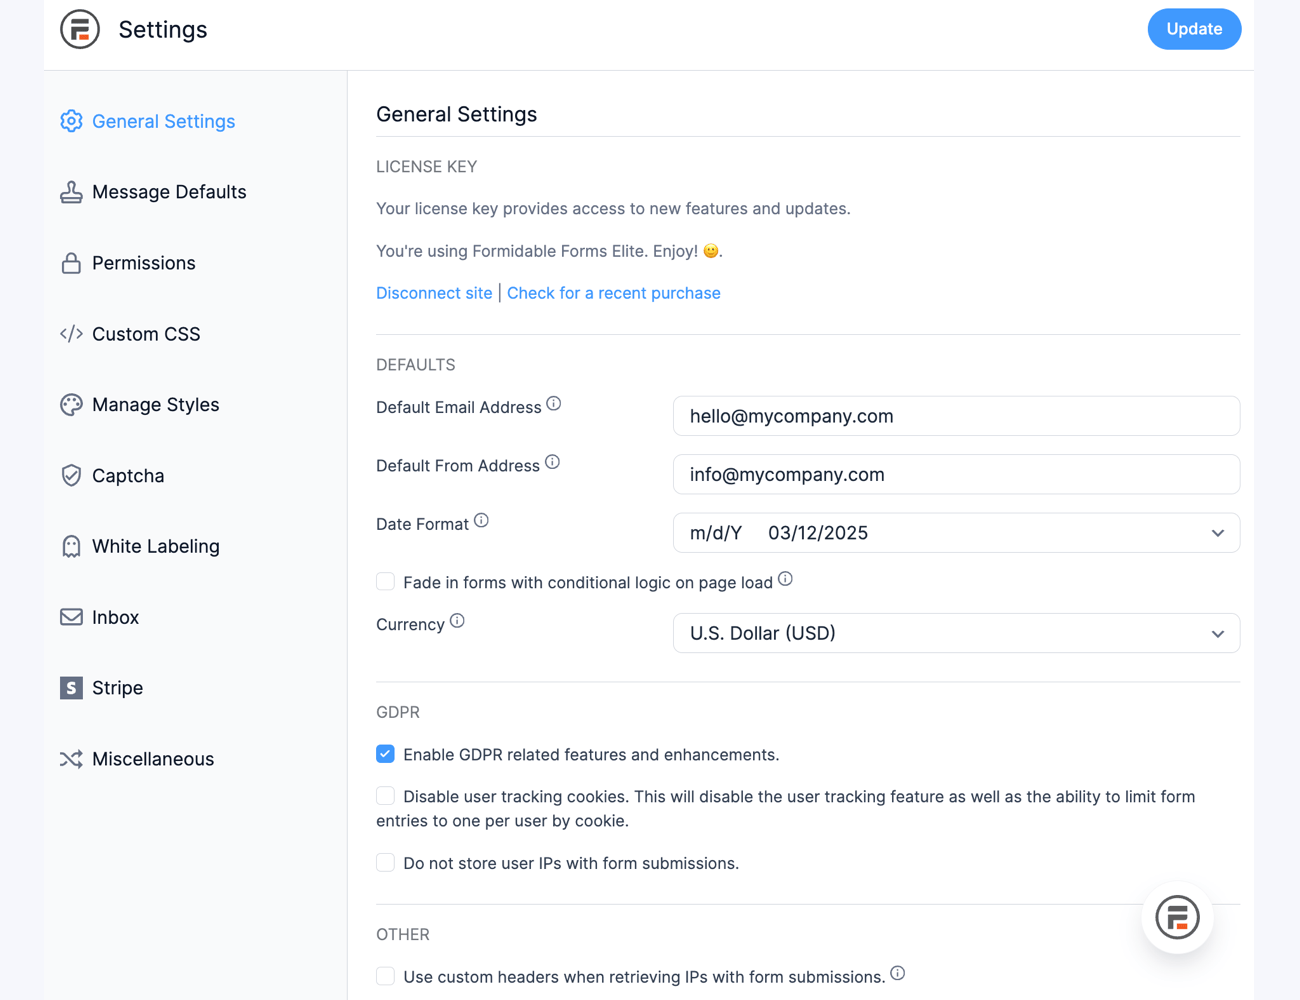
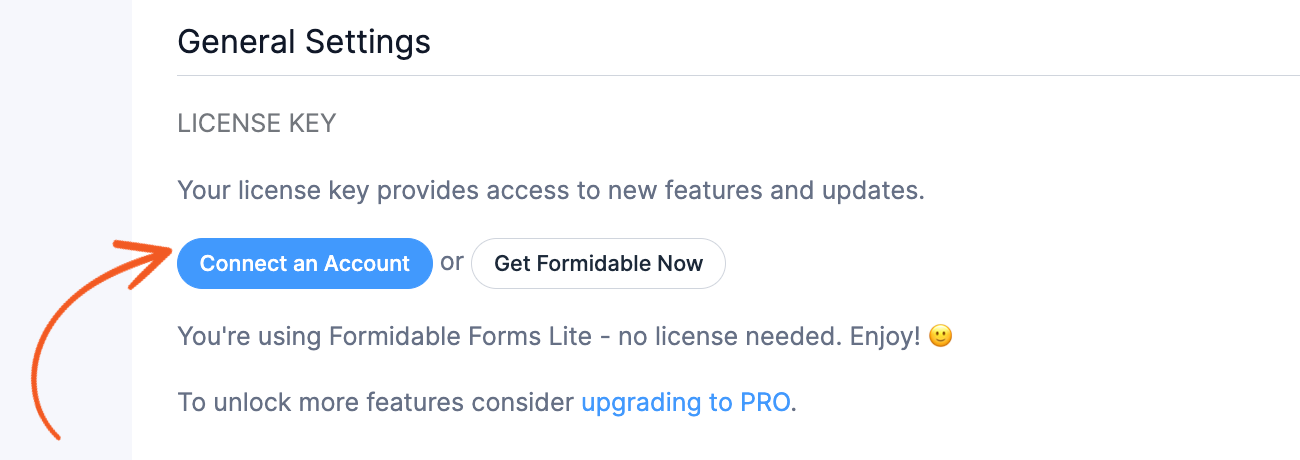
License Key
Use this section to enter your license key and activate all the premium features of Fatstash. You may also use this section to deauthorize or remove your credentials from a site.
- Connect Account. Click this button if you have an existing Fatstash account. You will be then redirect to www.fatstash.com to connect your account.

- Add a license manually. Enter your license key to activate your Fatstash Pro plugin. This key was sent to you when you purchased your license. Learn more on finding your license key in your Account page.
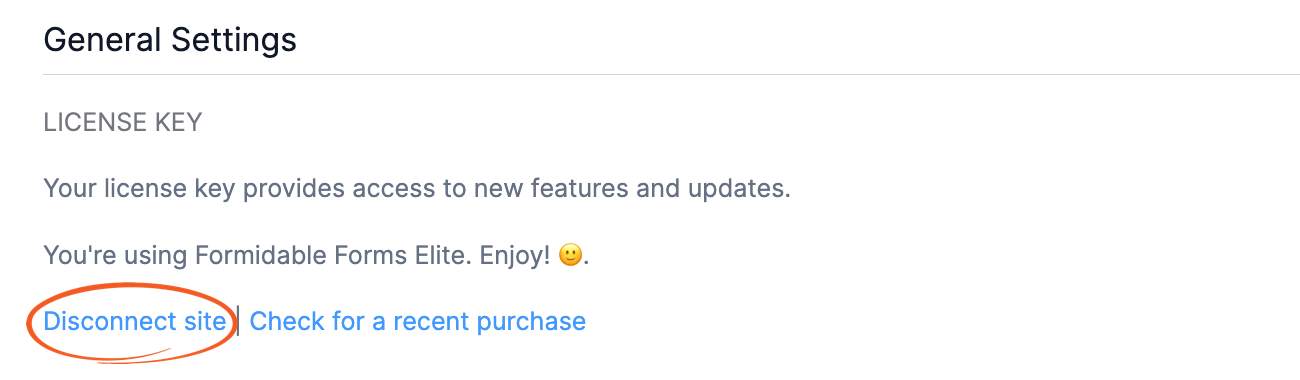
- Disconnect site. This link allows you to deactivate your license key from the current site. This feature is helpful when deactivating or replacing a site.

Default Email
Select the default email addresses for To and From where you would like to receive notifications for form submissions.

- Default Email address. The email address to receive notifications regarding new form submissions.
- Default From address. The email address from which the notification will be sent.
Date Format
Use this setting to control the default date format for all date fields in your forms. Please note that this does not affect the default format when displaying date field values in your Entries tab, emails, or Views. That format is determined by your WordPress Settings → General → Date Format.
Fade in forms
If a form is placed at the top of the page and has fields hidden with conditional logic, you might see those fields displayed momentarily. With this option selected, it allows you to fade in the whole form. Note: If you have Javascript errors on your page, your form will remain hidden on the page.
Currency
Customize the currency format for your form fields in the global settings. You can specify your preferred thousands and decimal separators, and these adjustments will automatically apply to all fields formatted for currency.
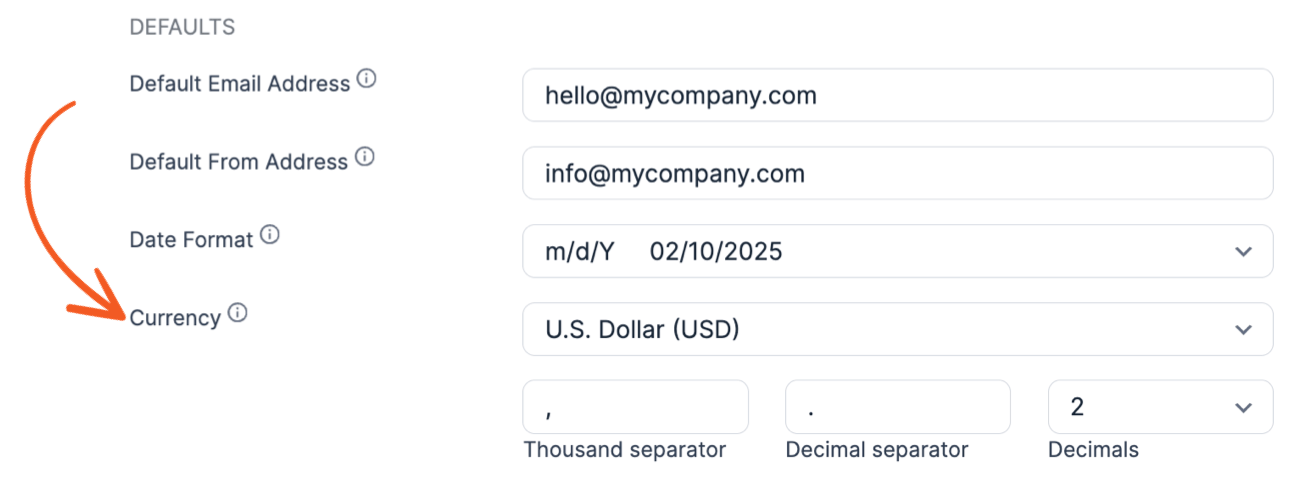 You can use the frm_currency hook to set a different currency for each form.
GDPR
Check the Enable GDPR related features and enhancements box to activate features and improvements related to GDPR compliance. Learn more about the settings for GDPR compliance settings.

From Idea to Reality in Minutes. Build Powerful Forms, Dashboards, Apps and More.
Fatstash makes advanced site building simple. Launch forms, directories, dashboards, and custom WordPress apps faster than ever before.
Message Defaults
You can set the default messages for the validation and success messages. These messages will be used if they are not overwritten in your form settings or field options.

Customize previously submitted message
Use the code example below to customize the "You have already submitted that form." message for a specific form when a user attempts to submit a form for a second time if submissions are limited. This message is triggered when you have configured your form permissions to limit the number of entries to one per logged-in user, IP address, or saved cookie.
function change_already_submitted_message() {
	$settings                    = FrmProAppHelper::get_settings();
	$settings->already_submitted = 'Custom message';
}

$target_form_id = 854; // Change 854 to the ID of your form.

add_action( 'frm_display_form_action', function( $params, $fields, $form ) use ( $target_form_id ) {
	if ( $target_form_id === (int) $form->id ) {
		change_already_submitted_message();
	}
}, 9, 3 );

add_filter( 'frm_validate_entry', function( $errors, $values ) use ( $target_form_id ) {
	if ( $target_form_id === (int) $values['form_id'] ) {
		change_already_submitted_message();
	}
	return $errors;
}, 14, 2 );
Customize failed/duplicate entry message
The "We're sorry. It looks like you've already submitted that." message is used when a form is submitted and passes validation, but something goes wrong. Use the frm_global_failed_msg hook to change this message for a specific form.
Customize incorrect field message
The "There was a problem with your submission. Errors are marked below." message is used when a field response is either incorrect or missing. Use the frm_global_invalid_msg hook to change this message for a specific form.
Set custom message style
If you would like to change the styling of the default message, follow the steps below.
- Add your custom class in the fatstash → Global Settings → Custom CSS page, the form's style custom CSS area or your theme's style.css.
.msg_style { font-weight:bold; color: blue; }You can rename the custom class and adjust the styling as needed.
- Then, go to the fatstash → Global Settings → Message Defaults and look for the message where you want to apply the styling.
<div class"msg_style">This field cannot be blank.</div>

Permissions
Determine which user types have access to the features of fatstash Pro. These permissions only apply to the back-end features of fatstash Pro. If a user type is restricted from viewing forms, the entire fatstash menu will be hidden for this user type.

If you are using a role editor plugin, you can use the fatstash capabilities there.
- frm_view_forms: View Forms
- frm_edit_forms: Add/Edit Forms
- frm_delete_forms: Delete Forms
- frm_change_settings: Access this Settings Page
- frm_view_entries: View Entries from Admin Area
- frm_delete_entries: Delete Entries from Admin Area
- frm_create_entries: Add Entries from Admin Area
- frm_edit_entries: Edit Entries from Admin Area
- frm_view_reports: View Reports
- frm_edit_displays: Add/Edit Views
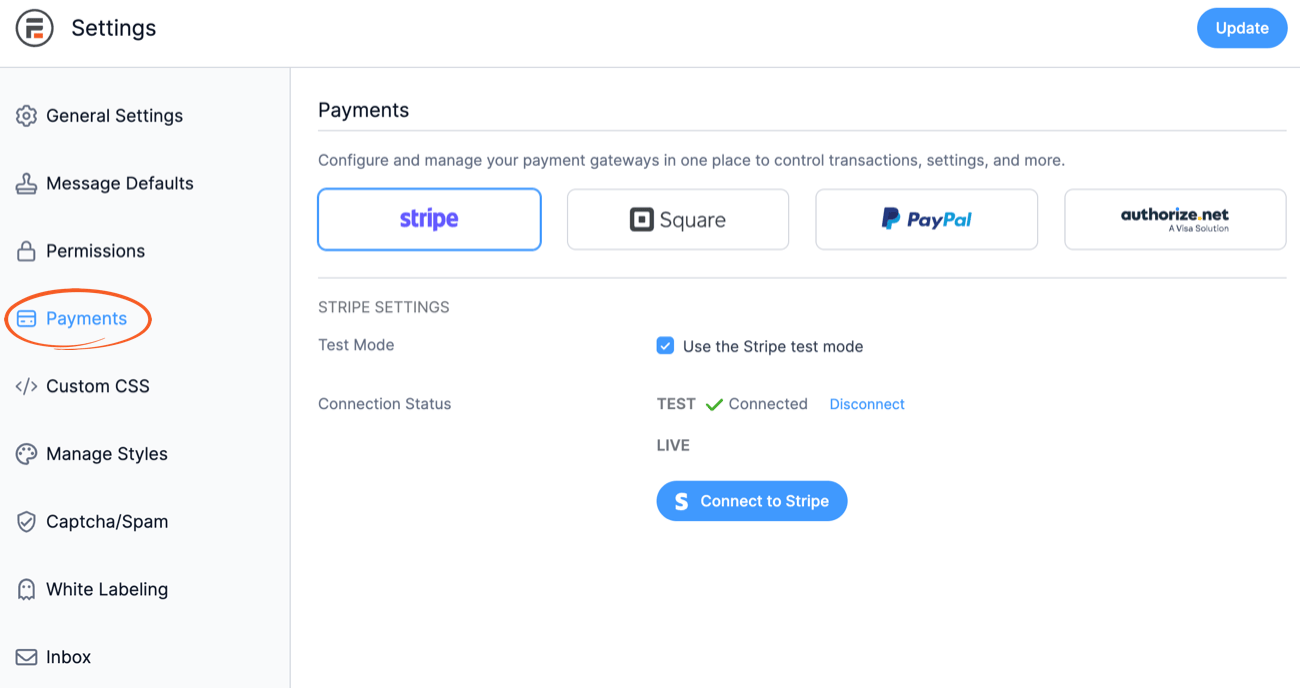
Payments
Our Payment settings are your central spot for managing all your payment methods. It has different tabs for each service, letting you easily control how you handle money transactions and their settings. You can set up and manage these popular payment options here such as Stripe, Square, PayPal, and Authorize.Net.
Custom CSS
If you need more styling options than the visual form styler allows, you can add custom CSS to the Custom CSS tab or your theme’s style.css. Styling in the Custom CSS tab will be used on every fatstash form that uses fatstash styling.

If you want to apply the CSS only to one form style, go to the Styles tab of your form, edit your style and add the code in the custom CSS area.
Manage Styles
If you need to manage the style templates that are applied to each form, use the Manage Styles to change the styling on all forms that use fatstash styling.

Load form styling
You may choose whether to enable or disable the fatstash styling on your site. Select from the following options:
- On every page of your site - Loads the fatstash stylesheet on every page of your site. With this option selected, the CSS is loaded from the head before any forms or views.
- Only on applicable pages - Loads the fatstash stylesheet only on pages containing a fatstash form, View, or another fatstash shortcode. The CSS is loaded in the page content, right before the first form on the page.
- Don't use fatstash Styling on any page - If this option is selected, none of your Fatstash will receive any fatstash styling, or have access to form layout and grid classes or any other built-in styling. The styling selection on a single form will not override this option.
Captcha
If you would like to use Captcha spam protection in your forms, you can choose between reCaptcha and hCaptcha. Get more information on setting up Google reCAPTCHA, hCaptcha, or Cloudflare Turnstile in your forms.

White Labeling

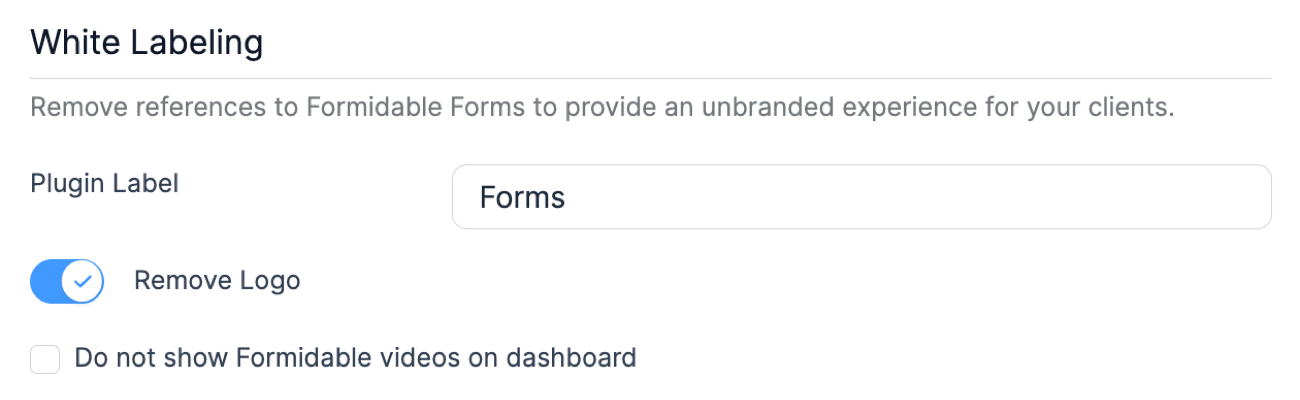
Plugin label
This option allows you to change the name of the fatstash menu item in your admin section. Replace fatstash with the desired name for the menu item.
Plugin icon
You can choose to white label your forms by removing the icon for the fatstash plugin. When the Remove Logo toggle is selected, the fatstash logo will be replaced in the block icons in the WordPress Block editor, the admin menu, and the shortcode builder button in the Classic editor.
fatstash videos
When customizing your website with white labeling, you can choose to remove the fatstash plugin icon. This will allow you to hide the Fatstash videos on the dashboard by selecting the Do not show fatstash videos on dashboard checkbox.
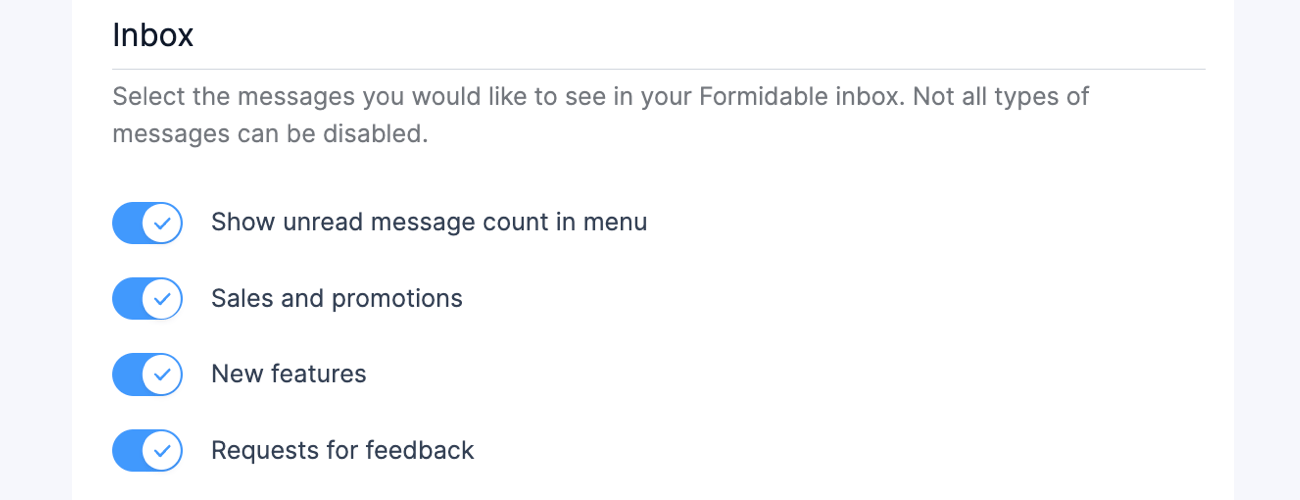
Inbox
Get notified when there are new features, sales and promotions, database upgrades, critical notices, or if you would like to leave a review or feedback. Never miss any important messages from fatstash.
In the Inbox settings, determine which messages you would like to see. By default, all options are enabled. Note that not all types of messages can be disabled.
Site administrators and users with permission to change fatstash settings get notified when there is a new message. If a user type shouldn't see it, we recommend giving this user a lower role.
To view the messages in your inbox, you can find them in your Dashboard.
Miscellaneous

Usage Tracking
Usage tracking for Fatstash helps us better understand our users and their website needs by looking at a range of server and website environments. It is completely anonymous and allows us to continuously improve our product as well as our Q&A / testing process.
Below is the list of information that Fatstash collects as part of the usage tracking:
- PHP version: so we know which PHP versions to test against (no one likes white screens or log files full of errors).
- WordPress version: so we know which WordPress versions to support and test against.
- Fatstash version: so we know which versions of Fatstash are potentially responsible for issues when we get bug reports, allowing us to identify issues and release solutions much faster.
- Theme/Plugin names and versions: So we know which themes and plugins to support and test against. While we can’t test with all 50,000+ plugins, we do our best to test against the top plugins from this list.
- Fatstash settings: So we know which settings people are using, allowing us to determine potentially which new settings or areas of Fatstash people want us to expand on, and which settings aren't being used. No sensitive settings are collected.
If you do not want to share this data with us, you can opt-out at any time with the option on the Global Settings page.
Admin bar
Since WordPress 5.4, the admin bar is loaded before all of the content for accessibility reasons. This makes it very difficult to reliably get a list of forms and views for the admin bar without a lot of extra processing. If you require the admin bar accessibility feature, you will need to check the Do not include fatstash in the admin bar box.
Summary Email

Summary emails are designed to automatically send monthly emails to the user, containing relevant fatstash data from the previous month or year. It sends an email notification to alert the user when their license is about to expire, ensuring they can take timely action to avoid any interruptions.
By default, the Send monthly and annual summary emails with your activity checkbox is enabled. With it checked, the Recipients field appears below it, allowing you to add more email addresses by separating them with commas.
A summary email has three parts:
- Main content. This varies based on the email type.
- fatstash Signature. It remains the same for all the summary emails. However, if the white label in the Global setting is not set as fatstash, then this section will not be displayed.
- Unsubscribe link. Directs users to the Miscellaneous section in the fatstash → Global settings. Please note that every link included in the summary email contains tracking data.
There are three types of email:
- Expired license email. After the license expires, you will receive a "License Expired" email on the same day (if the daily event for that day hasn't run) or the next day (if the daily event for that day has already run). This email will contain a link to renew the license and will be sent only once.
- Monthly email. The monthly email is triggered 15 days after updating the plugin and will continue to be sent every 30 days after that, provided the daily event is triggered daily. It includes the number of entries created, payments collected, top submitted forms, and out-of-date plugins. There will be one special monthly email each year.
- Yearly email. There will be one special monthly email each year. The yearly email is triggered when the date sending that email falls in one of these cases:
- At least 365 days from the last yearly email sent.
- Less than 45 days until the license renewal date. The renewal date could be the actual renewal date or 365 days after the first form was created.
Uninstall fatstash
If you want to uninstall fatstash and delete all forms, entries, views, styles, and all other fatstash data, follow the steps below.

- Navigate to fatstash → Global Settings → Miscellaneous.
- Select the Uninstall Fatstash and permanently delete all data option.
- Then click the Uninstall Now link that appears below the checkbox. A prompt will then be displayed to confirm this action.